If needed, create a smooth, flat surface using putty followed by light sanding.
02
Apply the primer on the surface for better adhesion
Apply the primer on the surface for better adhesion, then apply around edges and corners, and sand gently when dry.
03
Measure and cut the BODAQ interior film
Measure and cut the BODAQ interior film.
04
Peel off and pull the release backing
Peel off and pull the release backing about 4 inches and attach film, repositioning as needed until aligned correctly.
05
adhere the film from top to bottom
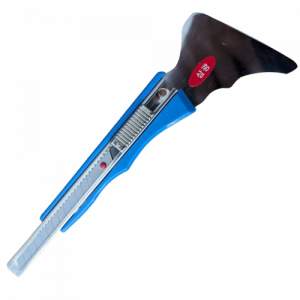
Using a squeegee held at a 45-degree angle, firmly adhere the film from top to bottom using a fan-shaped sweeping motion.
Tools
Main tools
List of main tools required for Bodaq Interior Film installation.
Recommended tools
Recommended tools will facilitate installation of any project, as well as ensure top quality results and longevity of the product. Please note, that you can order listed professional tools from us.
Optional tools are solely situational. In general, they are not required, but in some cases, they are a must.
For large projects e.g. walls and ceilings laser level will tremendously help with the precision during installation process.
Bodaq Interior film has a superior adhesion strength.Therefore excess part of the film might peel off a paint, a wallpaper or any other finish from the area outside of the project.Painter’s tape is a very useful tool to protect adjacent area from damage during the removal of excess pieces of the film.
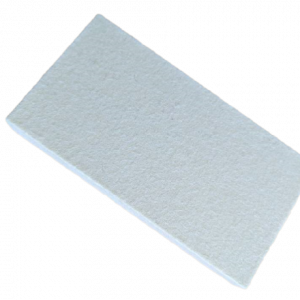
Sandpaper is instrumental in leveling any imperfections on the surface, such as bumps, scratches, or old paint remnants. These imperfections can hinder the proper adhesion of the film, leading to a compromised result.Sanding the surface before installation guarantees a smooth and professional-looking finish. It eliminates any visible irregularities and creates a flawless appearance.
Putty is an excellent solution for repairing damaged surfaces. Whether it's minor cracks or larger holes, putty can effectively fill in these imperfections, restoring the surface to its original condition. This ensures a clean and uniform base for the application of interior film. By filling in any gaps and irregularities, putty creates an even canvas, allowing the interior film to adhere seamlessly. This results in a professional-looking finish that enhances the overall aesthetics of a room.